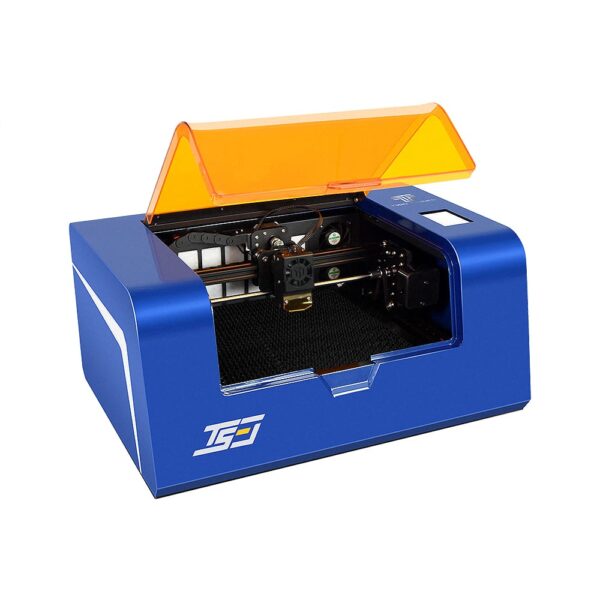
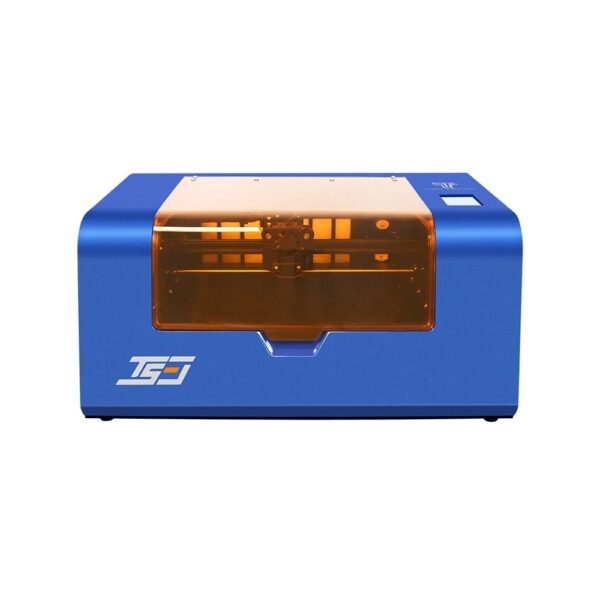
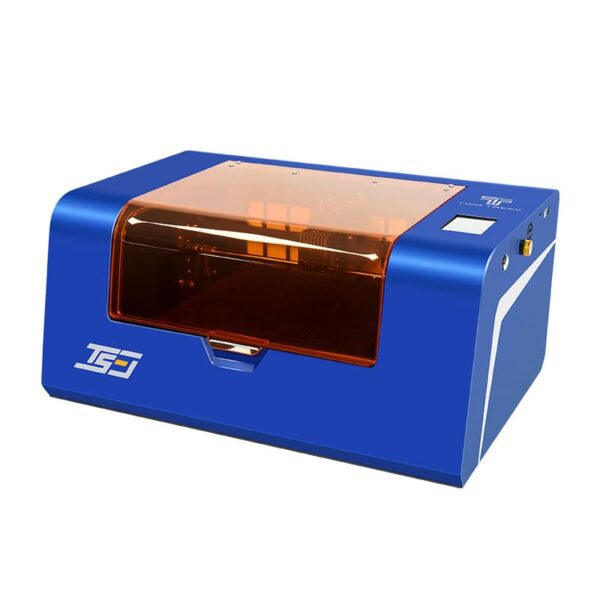
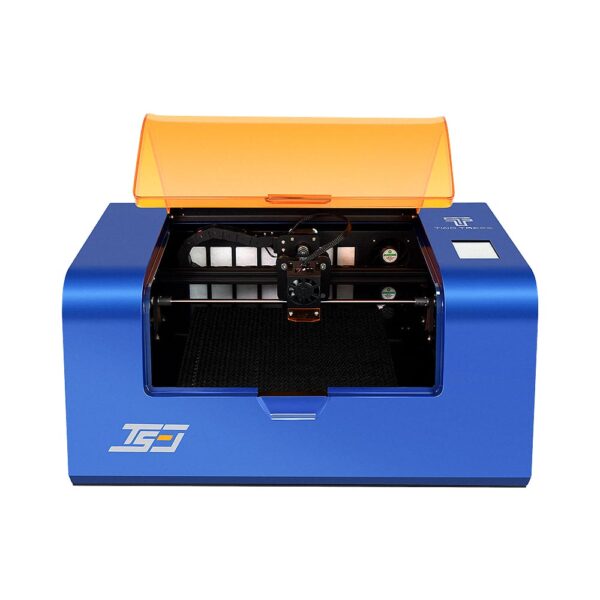
Wood Engraving Machine TS3 Powerful 10W 3-in-1 Enclosed Laser Marking/Engraving/Cutting Machine

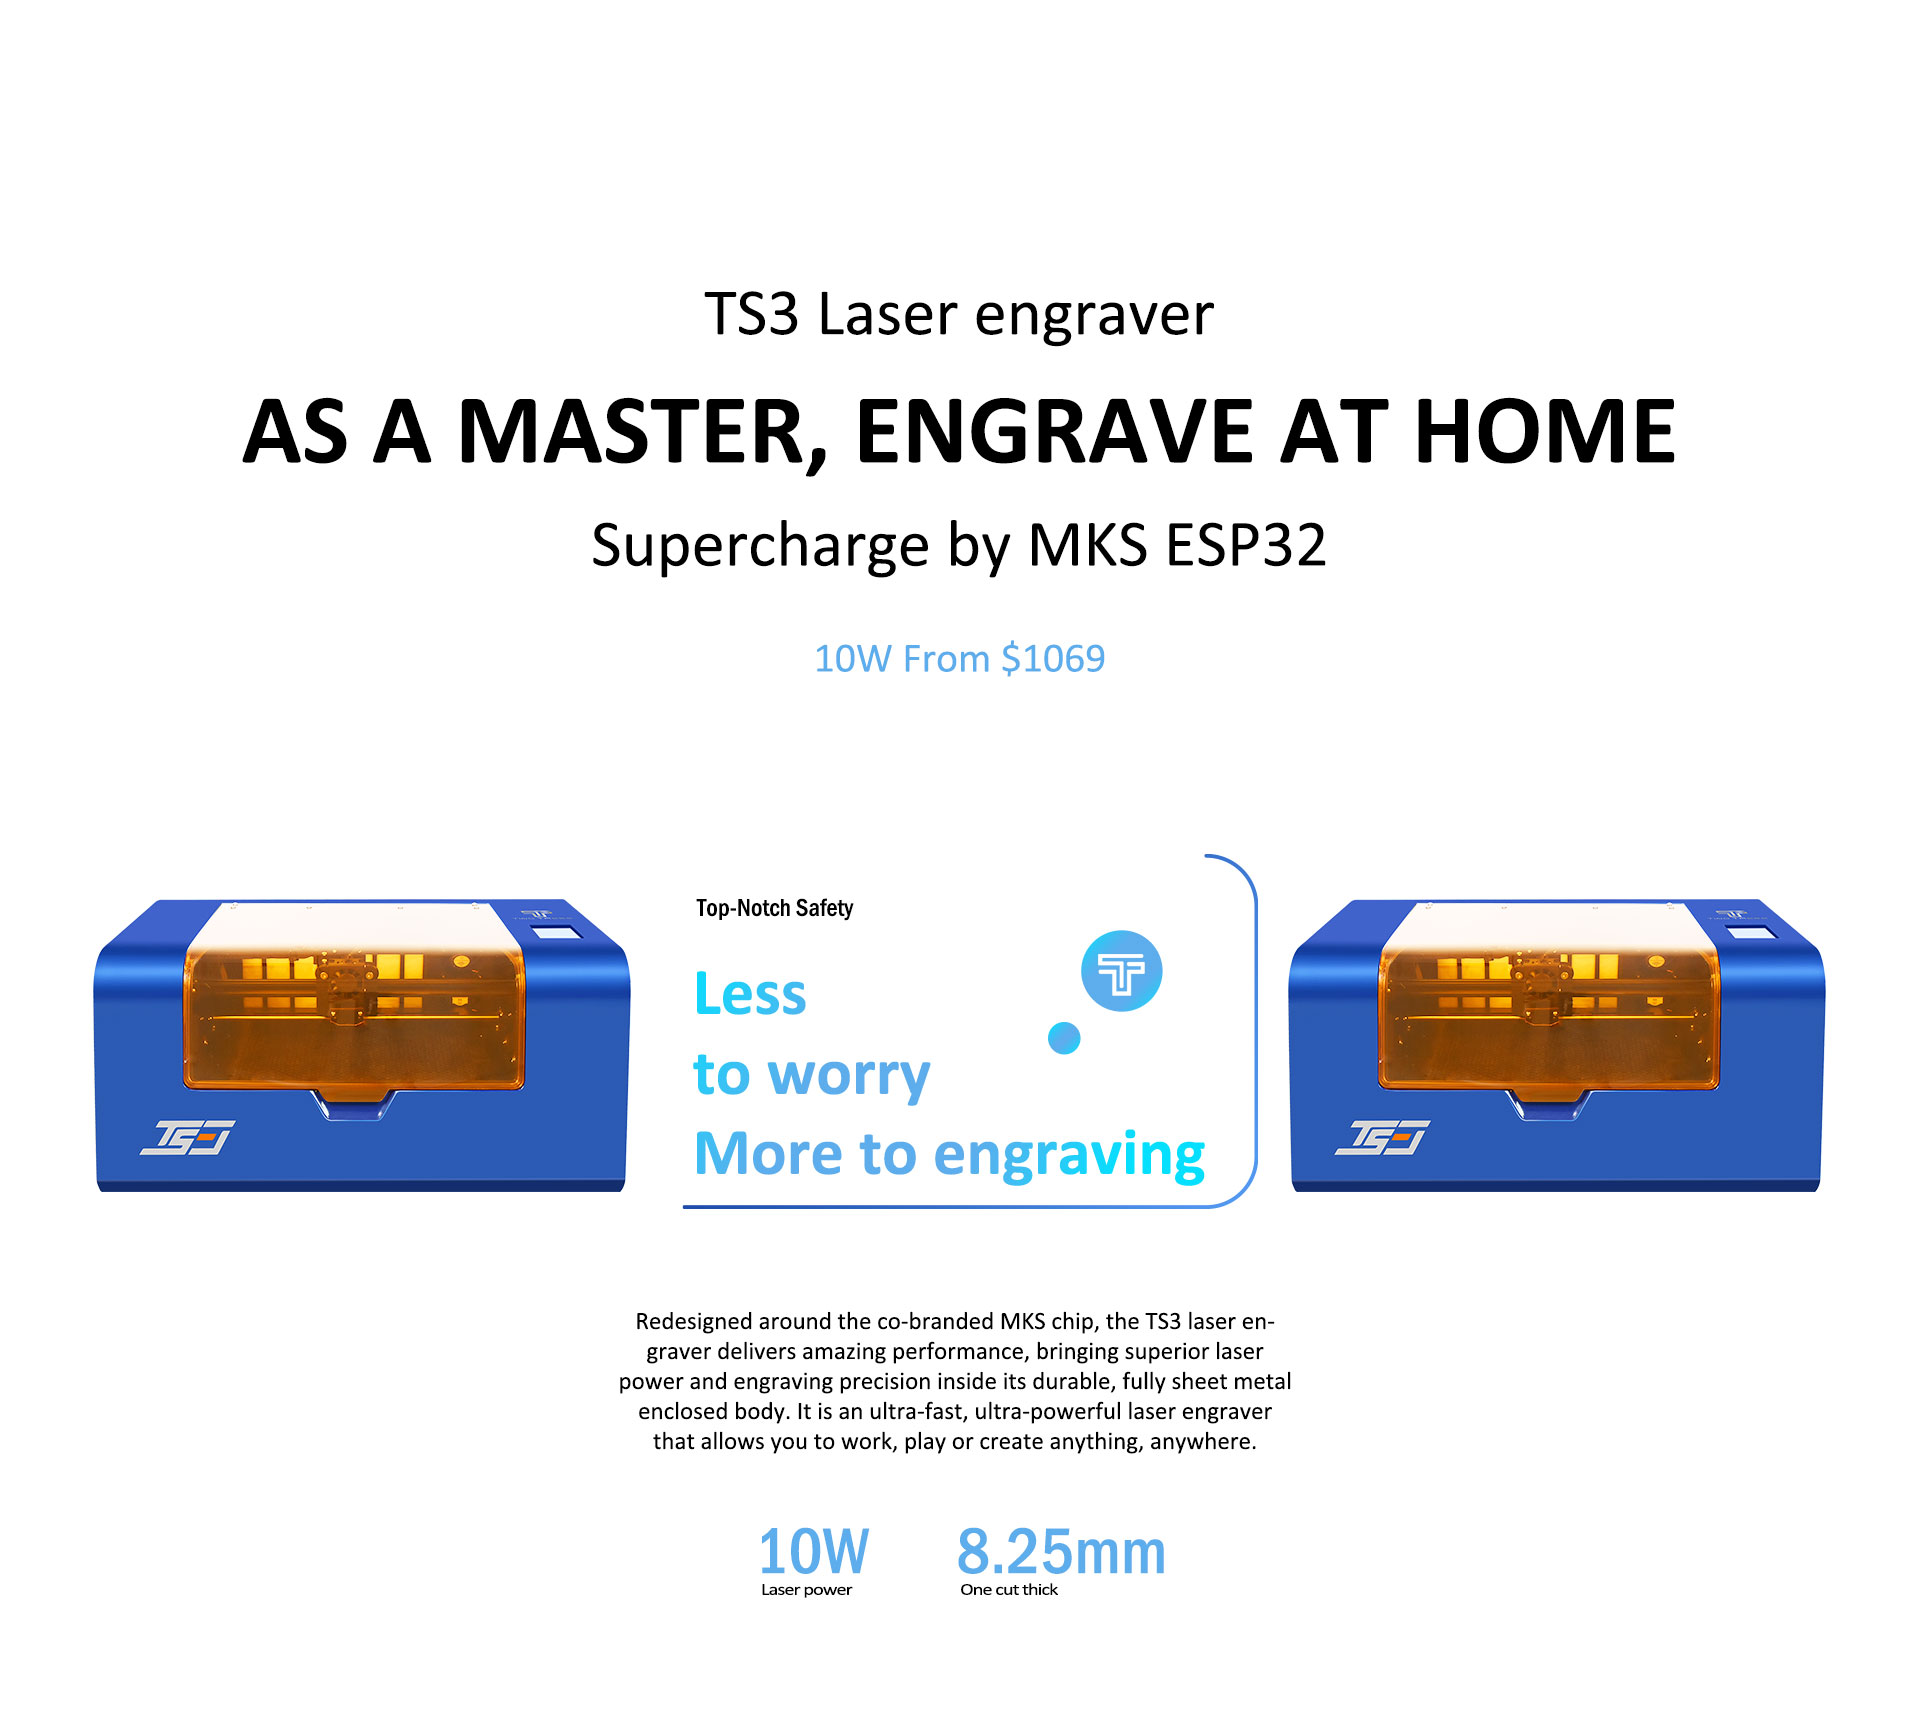
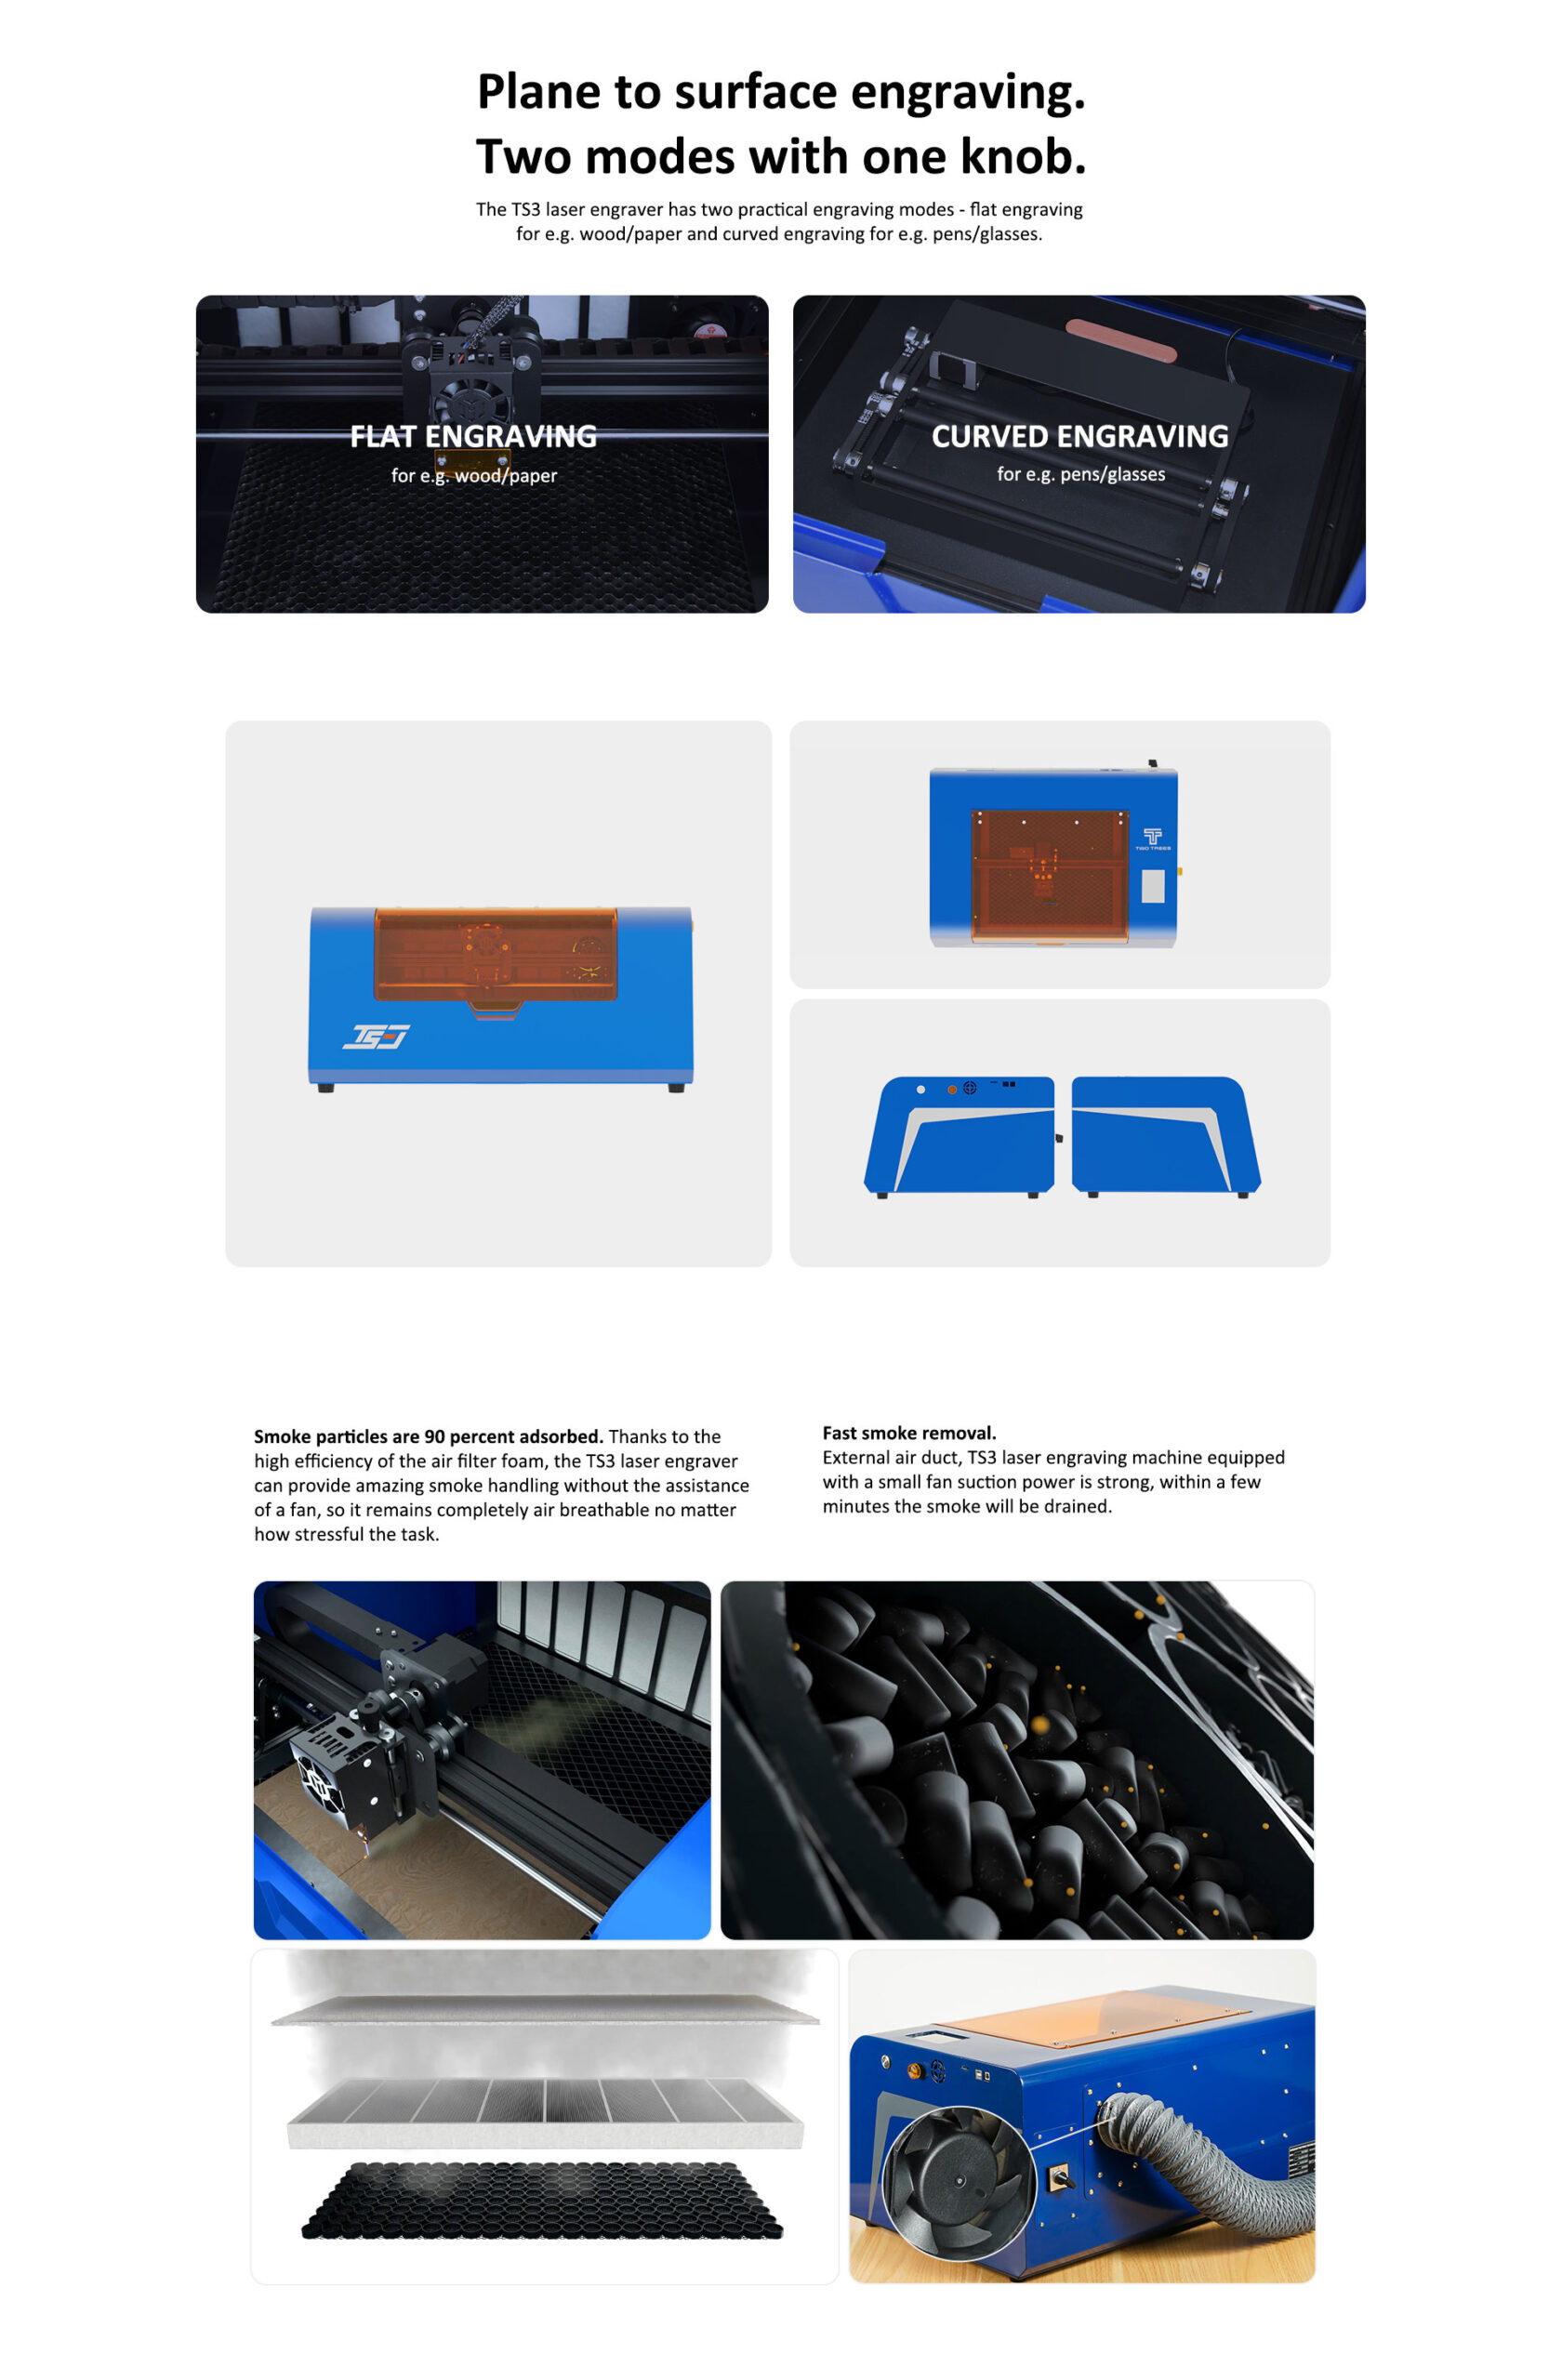
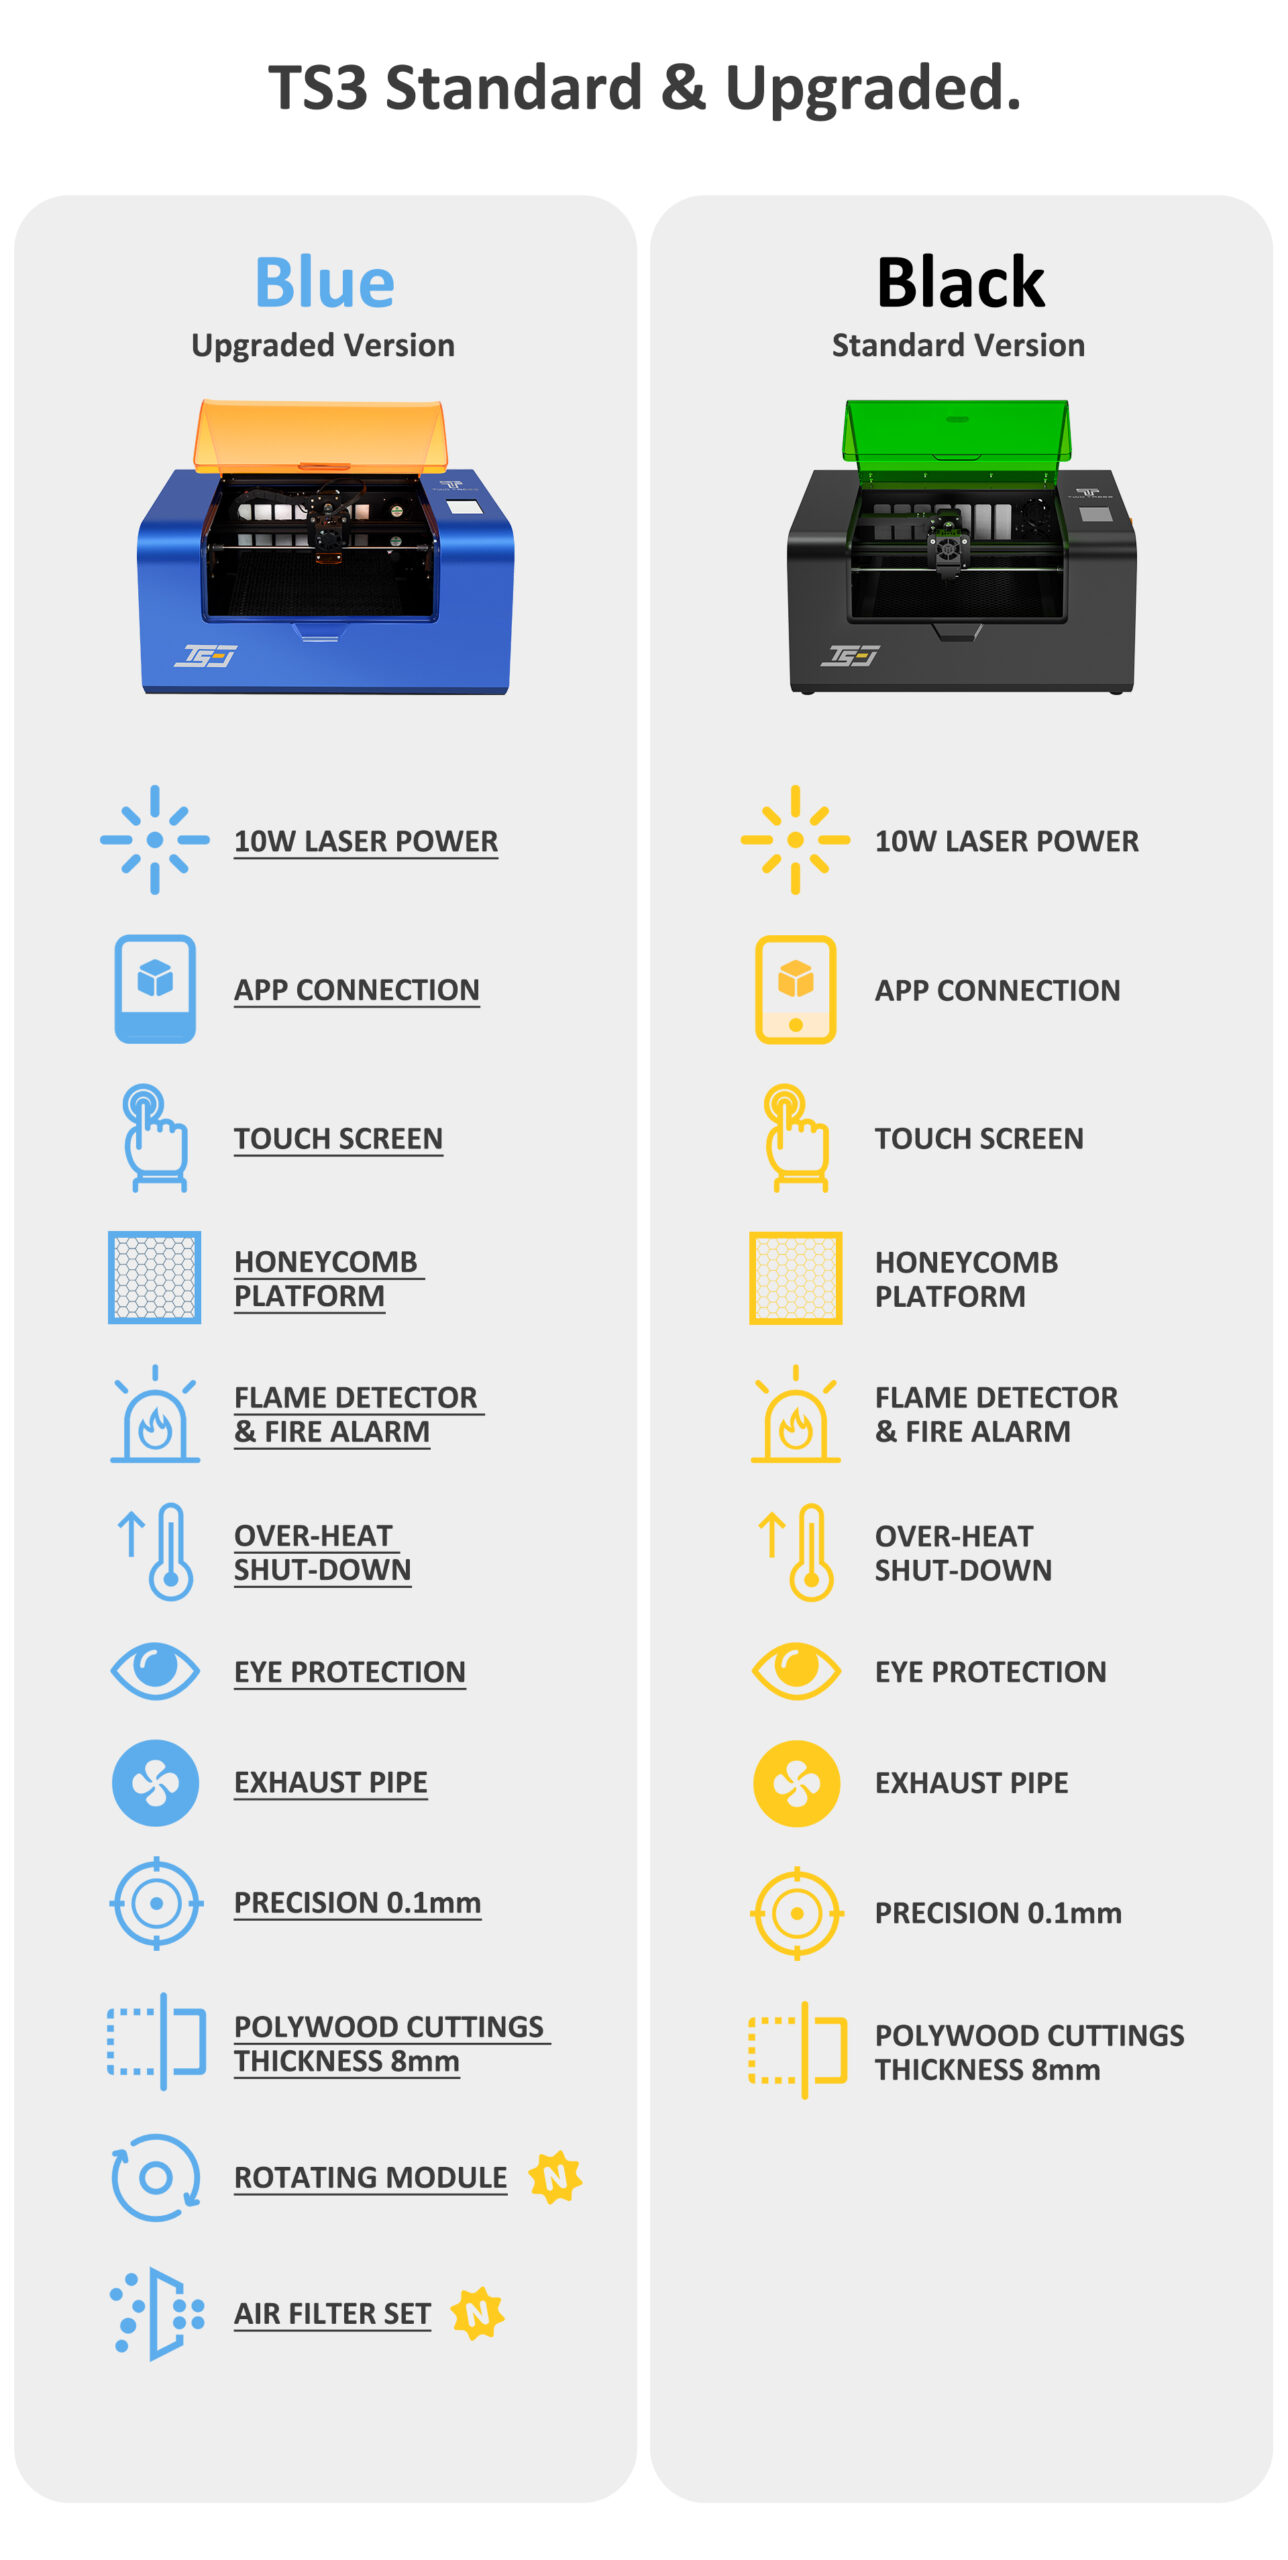
  • TS3 is one of the safest desktop wood engraving machines for DIY enthusiasts.
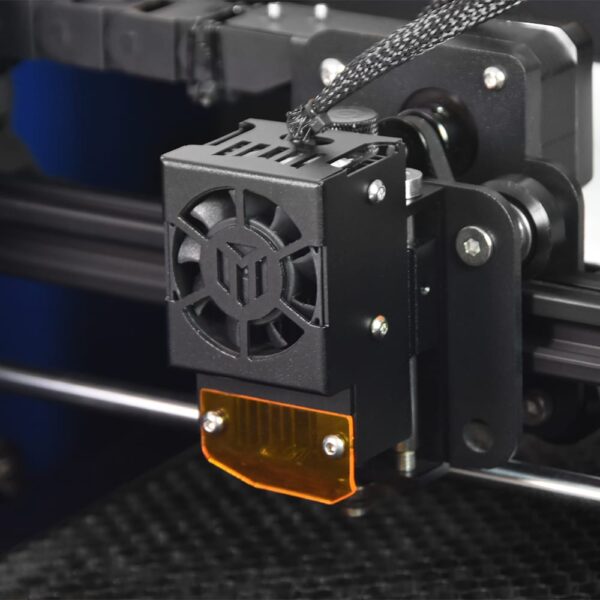
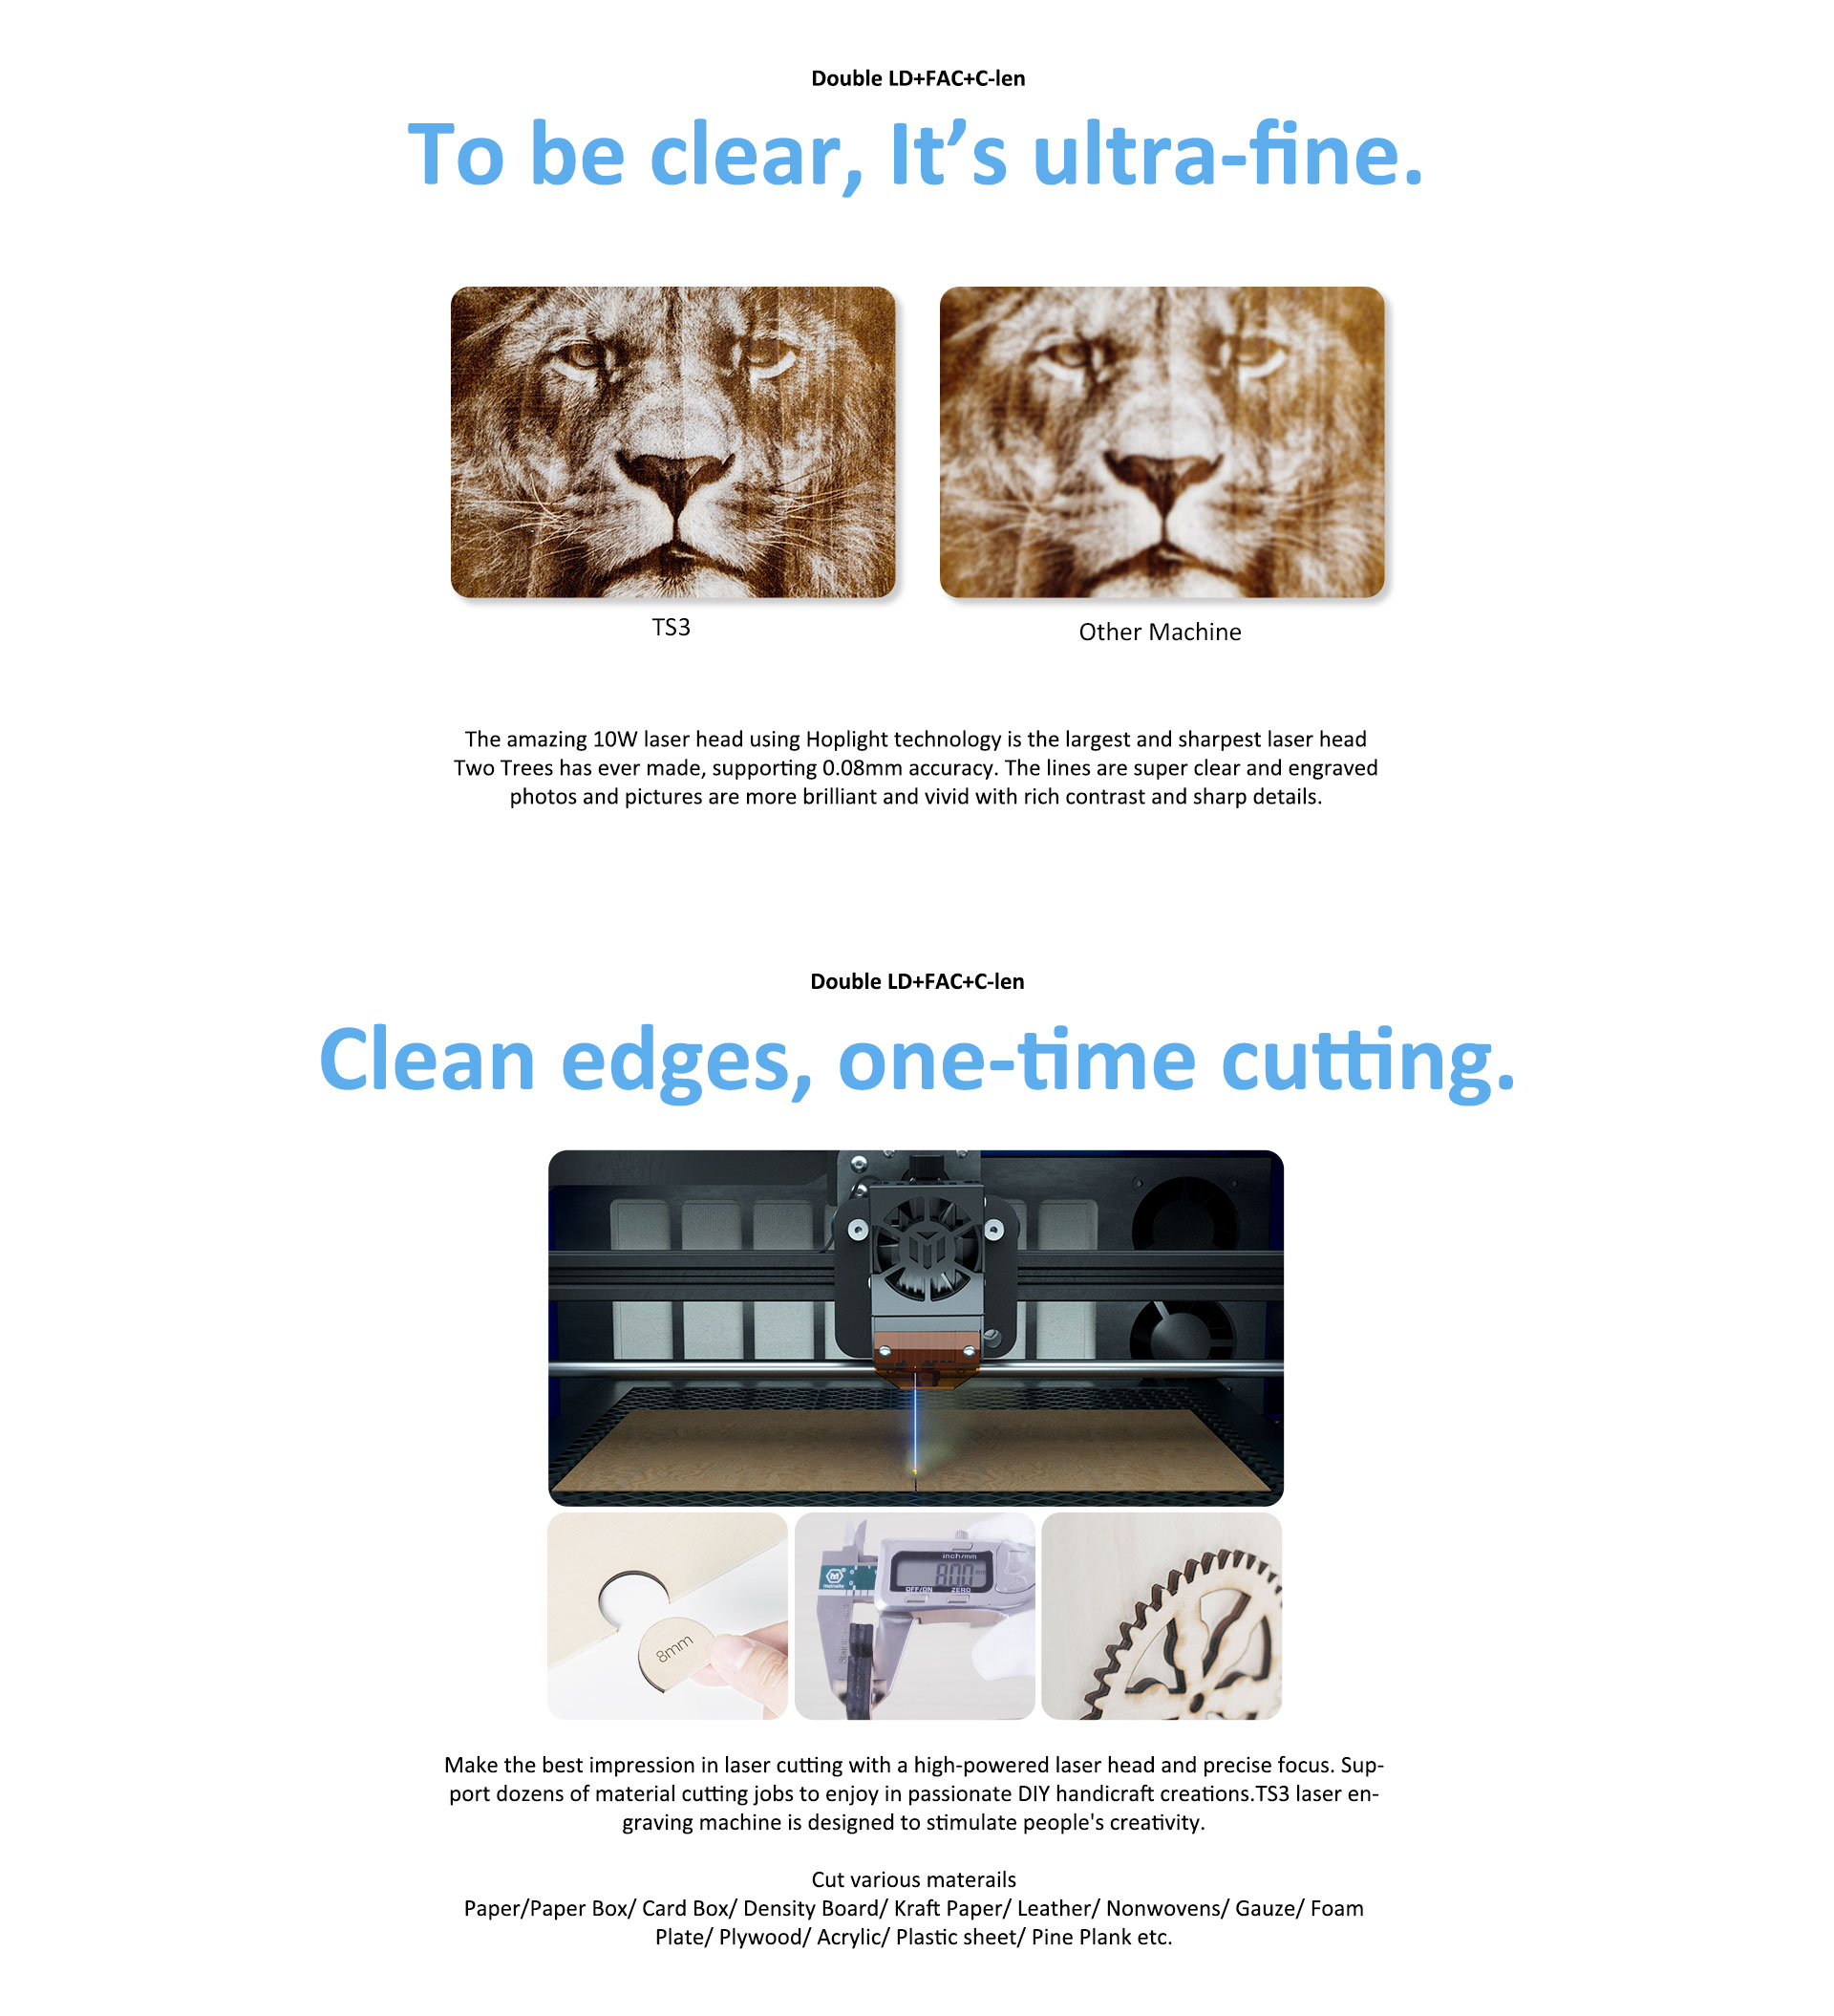
  • Its latest LD+FAC+C-lens technology brings deeper, thinner, and evener laser trails for users.
  •   Lasers from 2 units of 5W laser head are compressed into one powerful 10W laser for faster and easier engraving and cutting.
  • Its unique enclosed design provides extra protection for users and gets rid of all complicated installation works.
  • It’s a compact 3-in-1 laser marking/engraving/cutting machine for both personal hobbies and commercial application.
TS3 Laser engraver
TS3 Laser engraver machine

Materials Test

For engraving
Material Speed (mm/min) Power (%) Times
Plywood 6000 50 1
Acrylic 6000 20 1
Leather 6000 20 1
Electroplated 1000 100 1
Powder coating 6000 50 1
Anodic alumina 6000 20 1
Stainless steel 6000 100 1
Density board 6000 60 1
Peddle 6000 100 1
Plastic board 6000 40 1
Cardboard 6000 50 1
For Cutting
Material Speed (mm/min) Power (%) Times
Plywood 1mm 600 100 1
Plywood 2mm 450 100 1
Plywood 3mm 280 100 1
Plywood 4mm 200 100 1
Plywood 5mm 150 100 1
Plywood 6mm 100 100 1
Plywood 7-8mm 100 100 1—2
Acrylic 1mm 500 100 1
Acrylic 3mm 200 100 1
Acrylic 6mm 100 100 1—2

Specifications

Model No. TS3
Laser power 10W Compressed spot laser
Laser wave length 445±5nm
Output power 35W-40W
Material Aluminum profile + metal
XY Axis Positioning Accuracy 0.1mm
Engraving Size 14.2″ (300*200mm)
Engraving accuracy 0.08mm
Engraving speed 10000mm / min
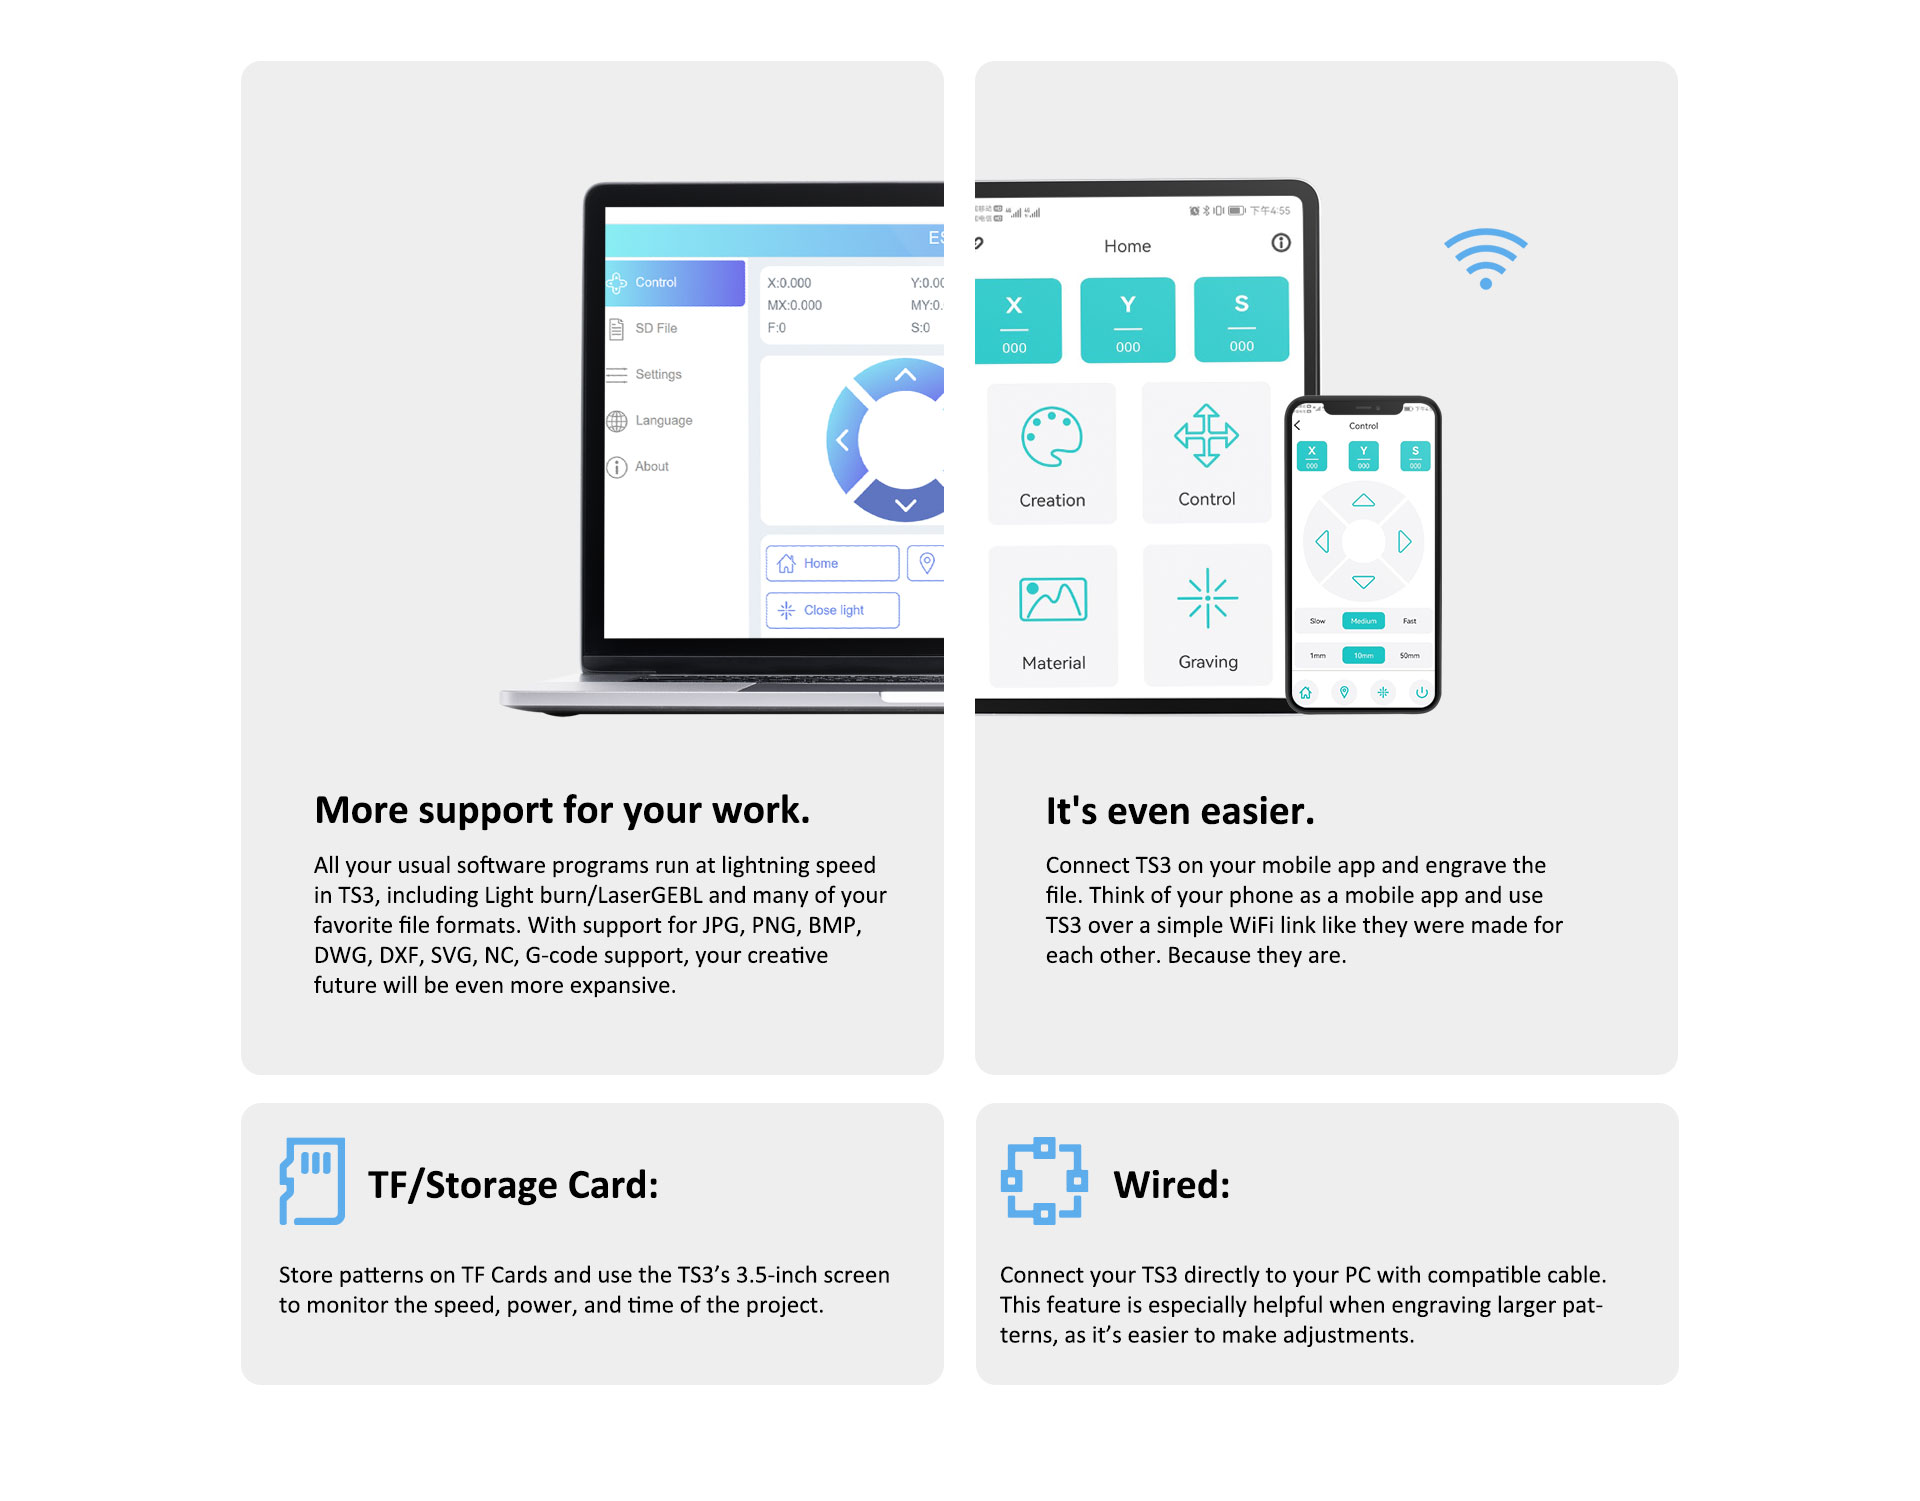
Engraving method USB / APP / Online / Screen Operation
Engraving materials Stainless steel
Document format NC、DXF、BMP、JPG、PNG、GCODE
Engraving mode Image carving、Test carving、Scanning carving、Contour carving、Pixel carving
Support system Windows
Support Software LaserGRBL / Lightburn
Machine Size 570*430*270mm
Package Size 630*500*330mm
Machine Weight 14.4kg
Package Weight 16kg

How to adjust the focal length of the engraving & cutting machine for TS3?

User Manual English Manual
Firmware Please confirm the current vision of your device before downloading and upgrading your firmware to avoid causing problems. It’s recommended to contact our technical support first before upgrading.
Drive CH340SER
Software LASERGRBL | LIGHTBURN
TF Card Files Download
Testing Files Download

Related Products

TS-3 Laser Engraver FAQ:

  1. Install the CH340 driver on the computer;
  2. Power on the machine;
  3. Use the data cable to connect the computer and the machine (MAC should pay attention to whether the adapter port is suitable);
  4. Open the GRBL software to select the correct serial port and baud rate, and then click connect (if using lightburn software, please select the correct interface);

5. Click the move button to see if the machine moves properly.

  1. 2.1 Screen interface introduction;

    2.1.1. Laser out of the light of the interface (manual control of the laser on).

    2.1.2. Control interface (move, set home, return home, unlock, return to zero, etc.);

    2.1.3. Engraving page (read TF card file).;

    2.1.4. Setup page (firmware version information, switching Y-axis and rotary table, WiFi information).


    2.2 Execute the engraving process using the screen;

    2.2.1 Computer editing file (.nc or .Gcode file) needs to be saved to the TF card first;

    2.2.2 Inserting the TF card into the machine;

    2.2.3 Select the file to be engraved and enter the engraving setting interface;

    2.2.4 Move to the desired location and click on Set Origin;

    2.2.5 Click on the edge patrol, if the position is not suitable, repeat the previous operation;

    2.2.6 If the position is correct, click “√” in the pop-up window to start engraving.
  1. Due to the resistive screen (which requires a certain amount of pressure to trigger, you can use your fingernail or pen);
  2. The screen film is not torn clean, thus squeezing the screen, please remove the residue after inspection.
  1. By the static electricity caused by the screen problem (the display from the chassis to take down, and then turn on again to see if the same situation, if not can be in the display and the chassis pad between the gasket;
  2. Display line is not inserted tightly resulting in the inability to display (unplug the line to reinsert tightly);
  3. Motherboard firmware is not fully brushed or brushed wrong leading to display errors (re-brush firmware);
  4. The screen film is not torn clean, thus squeezing the screen, please remove the residue after inspection.
  1. Not energized (check andize);
  2. Switch damaged (needs to be replaced);
  3. Poor contact with the power cord interface (view and plug the interface tightly) ;
  4. Motherboard short circuit (check and repair).
  1. If there is a strange noise when returning to zero, check whether the X and Y axis limit switches are cocked, if they are cocked, please press them flat to make the limit switches work;
  2. Incorrect firmware parameters, resulting in the wrong direction (please re-flash the firmware).;
  3. The gear switch on the back of the machine is not set to “1” (please set it to “1”).
  1. Abnormal noise when returning to zero (check whether the limit switch works and repair it);
  2. The frame hits the frame during the movement (screws, the movement range is set incorrectly);
  3.  There is debris or pulling in the transmission range, which causes the jam (please check and remove the debris).
  1. Determine whether it is to be engraved or cut;
  2. Adjust the focus using a fixed focus column and a tutorial with reference to the instructions;
  3. Testing on a test board and then fine-tuning according to the results.
  1. Open the software and connect the machine;
  2. Drag in the picture to be engraved;
  3. Set parameters (speed, power, etc.) according to prompts;
  4. Determine the engraving range by “set user origin” and “edge patrol”;
  5. Start Engraving.

1.Open the software and connect the machine.

  1. Drag in the picture to be engraved.
  2. Find and enter the layer to set parameters (power, speed, etc.).
  3. Determine the engraving range by “set user origin” and “edge patrol”.

5. Start engraving.

Gcode files can be generated by lightburn or GRBL software on your computer by:

1 Open the software and drag in the files to be engraved;

2 Set the appropriate parameters;

3. Save the file as a Gcode file.

  1. Wiring errors (you can check if other functions are also not working);
  2. Wrong wiring sequence (you can test the voltage positive and negative through the tool) ;
  3. Laser head damage (need to replace the laser head).

14.1. Preparation for APP use;
1. Install the app on your phone (download it from the application mall or open the TF card to find the installation package for installation);
2. Open the machine settings page;
3. Use your phone to connect to the machine WiFi;
4. Open the APP enter the IP address on the machine screen and click connect;
5. Enter the operation interface and start using APP;
6. Insert the TF card to use as storage data.

14.2. Use the APP to execute the engraving process ;

14.2.1 Select the pattern you want to engrave in the creation module or in the file list (you can upload album pictures) ;

14.2.2 Click next for pattern setting ;

14.2.3 Click next for parameter setting (size, power, speed) ;

14.2.4 Click Move for position selection.;

14.2.5 check whether the position is correct by the edge patrol function (repeat the previous step if it is not correct);

14.2.6 Click Engrave to upload the file to start engraving..

15.1. Preparation for Web use;

  1. open the machine settings page to find WiFi and IP address information.
  2. Connect the computer to the machine’s WiFi;
  3. Open the computer browser and enter the IP address on the machine;
  4. Enter the control interface and start using it.


15.1. Use the APP to execute the carving process;

15.1.1 Enter $H in the input box of the control interface to make the machine return to zero; 15.1.2 Select a file or upload a local file in the “SD File” interface;

15.1.3 Enter the control interface to set parameters (power, speed);

15.1.4 Move the position and determine the home position;

15.1.5 Check if the position is correct by using the (if not, repeat the previous step);

15.1.6 Click the engraving button to start engraving.

1. Check whether the belt of each axis has tension, and re-adjust the tension of the timing belt;

2. Whether the machine hardware (screws, etc.) is tightened;
3. Check the condition of the machine transmission parts have no jamming or loose collapse shaking;
4. Adjust the eccentric nut around the transmission position;

5. Fxed laser parts screws are not locked, not locked will lead to shaking (laser head focus knob loose lead to focus change).

1. Adjust the eccentric nut;
2.Adjust the belt tightness;
3. Check the fastener screws for looseness and Re-tighten.

  1. Turn off the machine to reconnect;
  2. Poor contact with the USB cable jack (replace the interface);
  3. Bad contact with the adapter (MAC computer);
  4. Close the computer USB port power saving mode.
  1. Loosen the belt pressure plate screw;
  2. Tighten the timing belt;
  3. Tighten the screws;
  4. Synchronous belt a little point of preload, but not very tight.
  1. Use a wrench tool to adjust the eccentric nut on the inside of the pulley, adjust to slight friction with the hand to paddle the pulley is appropriate;
  2. If the carving effect is not good, you can try to re-adjust once again.
  1. open the flame sensor housing;
  2. use a wrench to turn the white screw (clockwise to enhance sensitivity, counterclockwise to reduce it);
  3. After the sensitivity to the minimum screw half a turn in the opposite direction to ensure that the flame sensor will be triggered;

Note: When this function needs to be turned off, it can be adjusted to the lowest.

  1. Purchase the air pump and air nozzle kit.
  2. Connect the air pump and air nozzle kit through the reserved air hose.
  1. open the software and connect the machine.
  2. adjust the focal distance, and engraving parameters (S50% / F6000);
  3. Start engraving;

Note: the parameters are for reference only, there will be deviations due to the material.

  1. open the software, connect the machine;
  2. adjust the focus, engraving parameters (S100% / F2000);
  3. Start engraving.

Note: the parameters are for reference only, there will be deviations due to the material.

  1. open the software and connect the machine;
  2. adjust the focal distance, engraving parameters (S40% / F8000);
  3. Start engraving.

Note: the parameters are for reference only, there will be deviations due to the material.

  1. open the software and connect the machine;
  2. adjust the focal length, and cutting parameters (refer to the parameters provided by the manufacturer);
  3. Start cutting.

Note: the parameters are for reference only, there will be deviations due to the material.

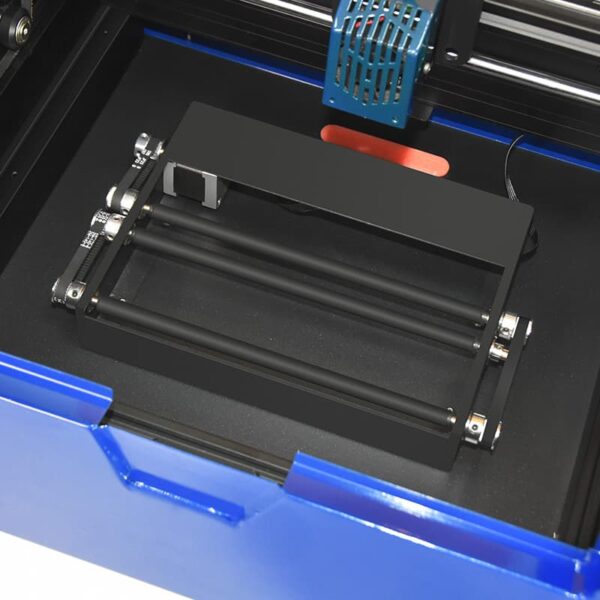
  1. Open the machine setup page.
  2. Select the option to use the rotary module.
  3. follow the on-screen instructions.
  4. Switch the switch gear at the back of the machine to “2” .

1.remove the honeycomb board ;

2. Put the item on the next layer before carving.

  1. Install the MKSLaser Tool ;
  2. open the tool and select the first item to enter ;
  3. select the correct serial port and baud rate ;
  4. first click the Erase button to erase the original firmware ;
  5. select the firmware and click Start, and wait for the refresh to complete ;
  6. Reboot the machine (please use the manufacturer’s firmware).
  1. open the acrylic cover door;
  2. Find the switch on the right side and turn it to off (red button).
  1. remove the rear side baffle screws of the machine;
  2. remove the used air filter and replace it with a new one;
  3. retighten the screws;
  4. install the rear side baffle of the machine.
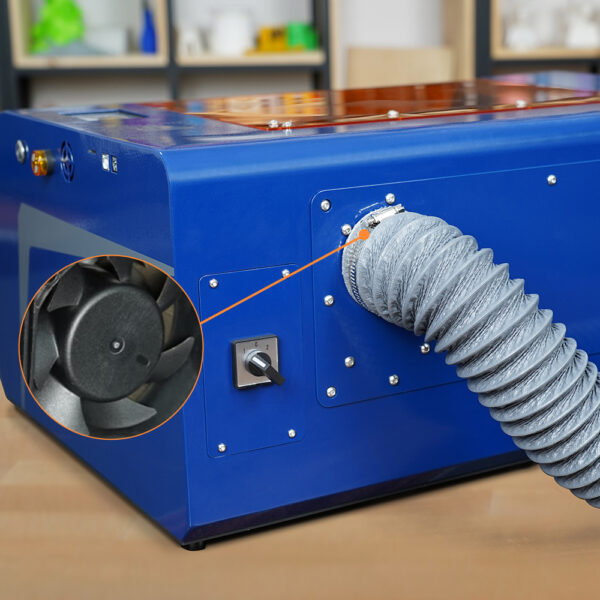
  1. remove the rear side baffle;
  2. reversing the direction of the fan;
  3. replace the parts provided by the manufacturer;
  4. install back the rear side baffle;
  5. install the exhaust pipe and extend the exhaust pipe to the outside.
  1. Restart the machine and click “Home” to first return to mechanical zero.
  2. Move the laser module forward and to the left by the X-axis and Y-axis direction keys for a suitable distance.

If the problem is not solved: please try to replace the other engraving files to test (through the engraving software to reset the size of the engraving pattern, and the output of a new engraving file).

  1. Manually move the drive mechanism to the right and forward;
  2. Restart the machine;
  3. Re-click “Home”.
  1. cleaning the laser head lens ;
  2. laser mode reset, parameter reset (such as M3 \ M4 instruction wrongly used, power setting error) ;
  3. replacement of material testing ;
  4. The laser head needs to be replaced.
  1. Cut off the power ;
  2. remove the laser module from the machine ;
  3. wipe the external lens with a cotton swab dipped in alcohol ;
  4. wait for it to dry naturally ;
  5.  Install back the laser module (do not disassemble without power off, do not use without drying).
  1. Immediately turn off the machine power;
  2. Check the condition of the carving object (if there is a safety hazard (fire), please eliminate it in time).
  3.  Restart the carving machine and observe.
  1. Check whether the knob switch on the back of the machine is set to “1” gear;
  2. Y-axis motor wire off not connected ;
  3. Synchronous wheel top wire is not locked ;
  1. Whether mechanical failure jammed (check to exclude) ;
  2.  Y-axis motor drive damage (replace the motherboard).
  1. Loosen the top wire on the coupling;
  2. Loosen the belt pressure plate screw ;
  3. Adjust both sides to the same scale;
  4. Retighten the belt pressure plate screw ;
  5. Tighten the top wire of the coupling.

GRBL software:

  1. connect the computer to the machine with the data cable and power it up;
  2. Open the GRBL software and enter “Grbl Configuration” after connecting to the machine;
  3. Click “Import” ;
  4. Select the file in the TF card provided by the manufacturer.


Lightburn software:

  1. Connect the computer to the machine with the data cable and power it up;
  2. Open the Lightburn software and enter the “Machine Settings” after connecting to the machine. 3;
  3. Click on “Import” ;
  4. Select the files included in the TF card from the manufacturer.

Want to be a dealer / distributor?

Fill Out the Form to Get in Touch with Us

Something isn’t Clear?

Feel free to contact us to inquire how to become the dealer or distributor, and we will be more than happy to answer all of your questions within 24-48 hours.