– Written by Todor Ivanov
Introduction
Hello friends! My name is Todor Ivanov and I am from Bulgaria. My hobby is laser engraving and cutting, and in 80% of cases, it’s just laser cutting of jewelry boxes, small geometric shapes, and especially Mandala (I already have a few made by the way). I would share how and the settings I used to engrave the Mandala art in this post.
What Is A Mandala Art?
In the ancient Sanskrit language of Hinduism and Buddhism, mandala means “circle.” Traditionally, a mandala is a geometric design or pattern that represents the cosmos or deities in various heavenly worlds. “It’s all about finding peace in the symmetry of the design and of the universe,” says artist Saudamini Madra.
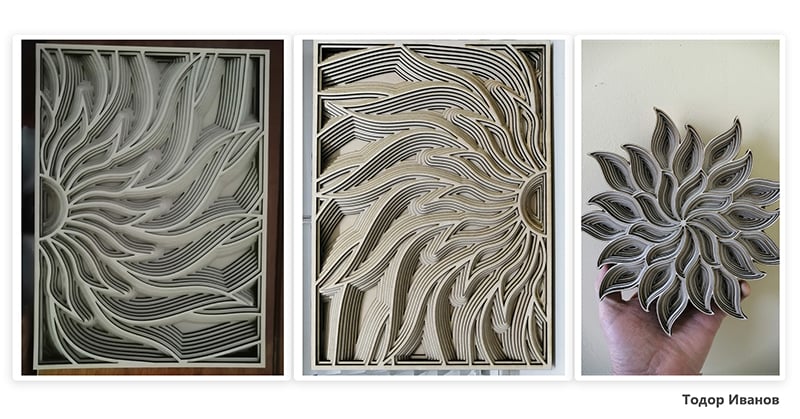
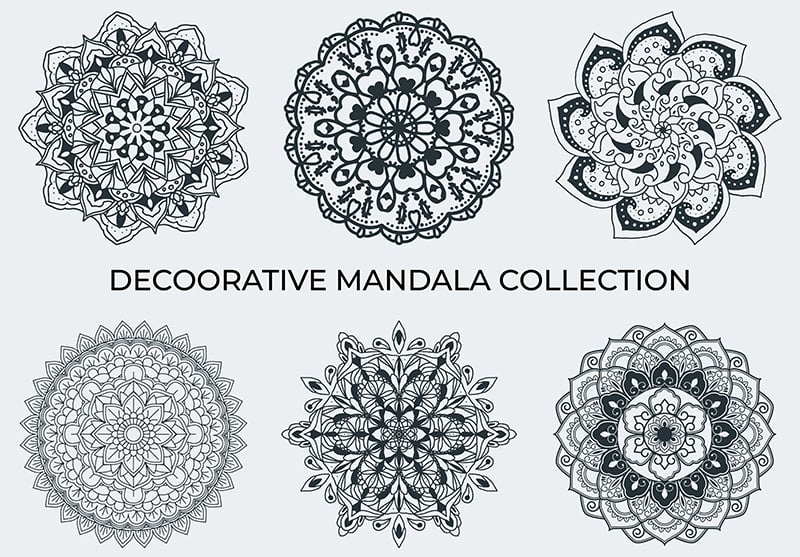
People in different cultures all over the world have created mandalas, suggesting that the form speaks to something deep within every human being. The brilliant psychoanalyst Carl Jung believed that the mandala represents the Self and that drawing a mandala gives a person a sacred space to meet that Self. He considered making mandalas an effective form of art therapy, helping to calm and comfort people struggling with mental health issues. And here are some examples of Mandala design:
Where to find files for Mandala Art?
Mandala as one popular design could be easily found in many places. However, it’s important to make sure your downloaded file is capable of being engraved. If you have no idea what file formats to download and where to download files for Mandala art, please check the post on the Top 13 Laser Cutting Design Files Download Websites.
Preparation Before Engraving A Mandala
Before engraving a Mandala art, there are still a few preparations that need to be done.
- Find and download a design file for Mandala design;
- Get a suitable laser engraver machine for the project;
- Get engraving software.
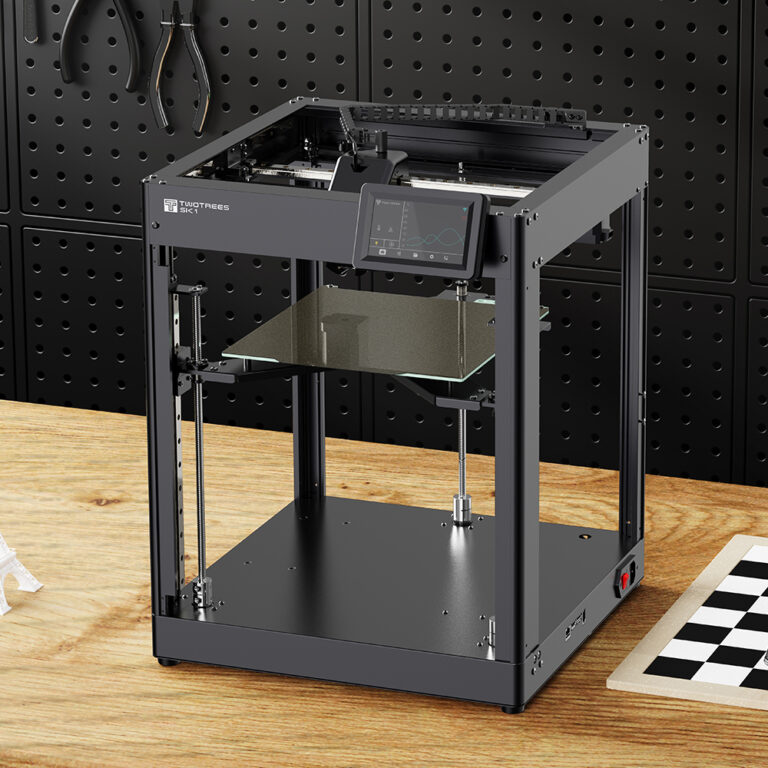
As you might have already downloaded Mandala files that want to engrave from the 13 websites we have listed, we would go directly to the engraving machines. Since the machine I used is manufactured by Two Trees and is called TTS-55. So in this regard, I want to share my impressions of the machine with you and try to help everyone who still can not, but wants to learn to work with TTS-55 like me and cut complex files.
Briefly About TTS-55 laser engraver machine

1. I have worked with laser cutting machines from many manufacturers but only TTS-55 offers real optical power of 5.5 watts, which in turn helps for easy cutting on plywood 2.5-4 mm.
2. The machine has a working area of 300×300 mm which is enough to cut different types of mandalas which in turn can be used in a million different ways(it all depends on how big your imagination is)
3. Special TTS-55 also offers wireless connection to a phone via an application (not difficult to operate), which in addition facilitates the user’s work with the machine
4. As you all know, the machine has a metal column that helps to easily adjust the focal length and apart from that, the laser head itself comes complete with a red plastic shield to protect the eyes from the blue light of the laser light. Apart from that, when you cut and have to separate this shield from the laser head, you have green glasses in the set so as not to damage your eyes (Two Trees has provided all the details and have thought very well about your health and the health of the people around you)

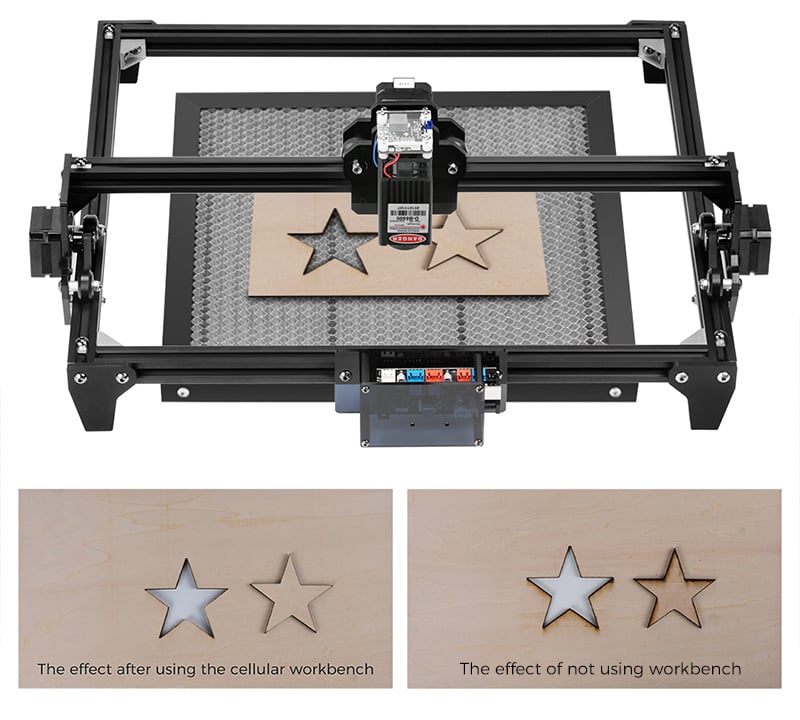
5. The company offers an optional Honeycomb workbench for working with the machine. I personally have been using one for a long time and believe me you can’t want to cut out various details and you is obtained successfully and without smoking without this Honeycomb. So if you are an artist and you want to create beautiful things, my advice to you is to get Honeycomb and then let your imagination run wild. you to work for you!
6. Something very important – monitor the temperature of the stepper motor on the X-axis (temperature is monitored by hand with a touch). If you find the stepper motor warm and even hot on top you must stop working as soon as possible and disconnect the machine from the red button on the board (0/1). This will extend the life of your machine and it will prevent the stepper motor from burning out.
7. Be sure to clean the laser head after each use of the machine. Cleaning is done with alcohol and a cotton cloth or ear stick. Immerse yourself in the tool with which you will clean in the liquid and with light internal movements you clean the lens which is right in the middle of the brass ring without pressure. Then dry, wait a few minutes to dry very well, and continue to work with the machine. If I missed something PLEASE add it (I’m still not perfect and I make mistakes) So on the issue of cutting out the details.
Lightburn software
I work with 2.5-2.8 mm thick plywood for making the mandala, and I also work with software called Lightburn. Lightburn provides a 30-day trial period and then a license must be purchased (currently $ 60).
How to Make a Mandala Art with A Laser Engraver for Beginners?
I think we are ready to get to the bottom of it.
Now I will tell you how I work with Lightburn and what settings I use for cutting.
- Speed – the speed should not be too low or too high. I personally use a speed of 800-900 mm / min. For me, this is the optimal speed for clean cutting and little time for work. But you can use different speeds. Try it and you will find yours.
- Power – the power of the laser must also be optimal according to the speed – mine is 90% constant. You can find better power, but whatever is yours I personally do NOT recommend maximum power of 100%. One is that it is 100% unnecessary and the other is that in this way you load the laser head itself and the constant use of this power leads to a shortening of life.
- Repetitions – for cutting 2.5-2.8-3.0 mm plywood I use 6 repetitions at a speed of 800 mm/min and a power of 90%. These are my settings, yours may be better.
- Focal length – I use the metal column using the third step, ie I adjust the laser head to step on the third step of the column from the bottom up and respectively on the second from top to bottom. For me, this is the most optimal focal length for cutting plywood with these thicknesses.
And now to summarize:
- Power – 90%
- Speed – 800 mm / min
- Repetitions – 6
- We turn on the option for constant laser power, adjust the focus, adjust the detail on the workbench and start cutting.

And now I can show you several types of mandalas that I have made. These types are of different sizes and no larger than 300×300 mm. Some are colored, others are not, and they are about to be colored.
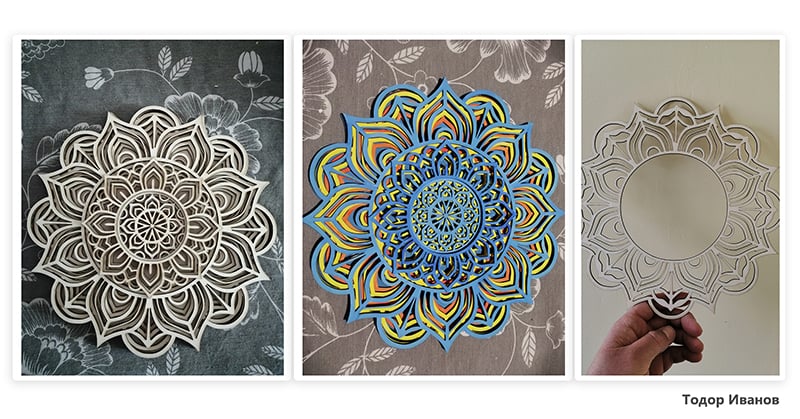
And in this regard, just to mention – if you are going to make a mandala that you later plan to color, you MUST color the different layers before gluing them. That’s what I’m saying because once the layers are glued to each other there is no way to color them properly to the smallest detail and there is no way to make it beautiful. And if it’s a mandala with flowing colors, it won’t be at all get first gluing and then staining. That is, we cut, color, sew!
As I said … Good luck to all!


