3D printing warping is one common issue with FDM printers since it uses thermoplastic filaments as materials that tend to change forms at different temperatures. If users overlook the importance of proper settings and actions to avoid warping, there is a big change their prints would fail due to deforming. In this post, we have a detailed explanation of what causes 3d print to warp and list 10 easy methods to effectively stop 3D printing warping. Hope you could find some useful tips here and feel free to signup for our newsletter.
What is warping in 3d printing?
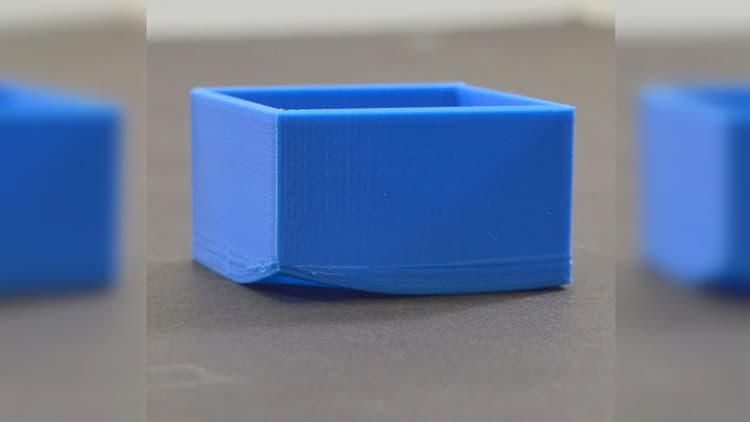
Warping and curing usually occurs in FDM 3D printing when thermoplastic filaments are extruded out of the nozzle and starts shrink which leads to deforming and printing failure.3D printing first layer warping is the most well-known and bothering issue for beginners where the edges and corners start to curl and the bottom layers get off the platform. As different materials have different reactions to temperature changes, specific materials are more likely to curl than other materials. PLA and ABS are the two most popular filaments for FDM printers and ABS is much easier to curl during printing. And it’s also common sense that warping gets a bigger chance to occur in 3D models with larger-scale sizes.
Why does 3d print warp?
The thermal expansion and contraction of plastic are the main causes of edge warping during the printing process. Warping happens since the material shrinks when it cools down. When the melted filaments are extruded out of the nozzle and placed on the printing platform, there would be a force to make the first layer stick to the printing hotbed. At the same time, the filaments would start to shrink as a reaction to the temperature changes which would generate an opposite force to make each layer curl upward. As most of the shrinkage tends to happen to the edge of each layer and the opposite force from each layer might accumulate together to force edges and corners of 3D prints to curl upward. In a word, warping and curling are inevitable results of the fighting between the two forces from different directions. And to reduce warping for 3D printing is simply to find ways to get a balance between the forces.
How to prevent 3d print from warping?
1) Level Printing Bed
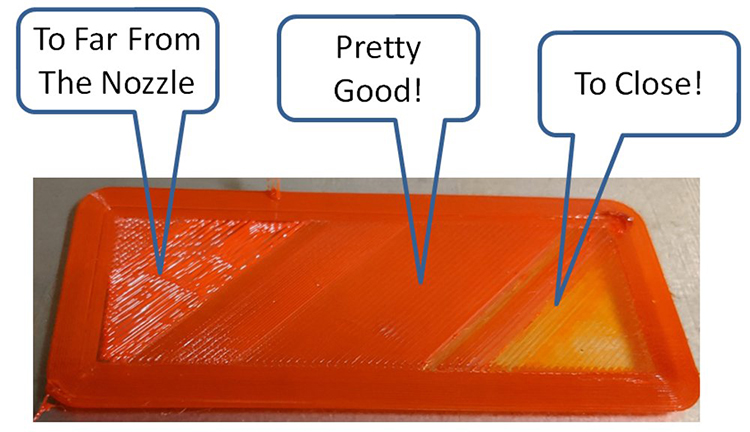
To avoid warping, it is essential to have a leveled printing bed. If the nozzle is too close to the printing bed, it will block the nozzle and scratch the print bed. If it is too far away from the printing bed, it would be difficult for the melted filament to stick to the printing bed. The popular “Paper Test’ could be conducted to test if you get a proper distance for printing. You might also make a print test to observe the first layer and find which corner requires adjustment in the distance.
2) Use Higher Temperature for First Layers
Both the printing head and the hotbed need preheating. It is recommended to increase the printing temperature for the first layers by an additional 5°C. This can increase the viscosity of the printing consumables and make the first layer of consumables better adhere to the printing platform. If you have no ideas about what temperature settings to use for different filaments, you might find answers in this post.
3) Use An Enclosed Housing for Printing
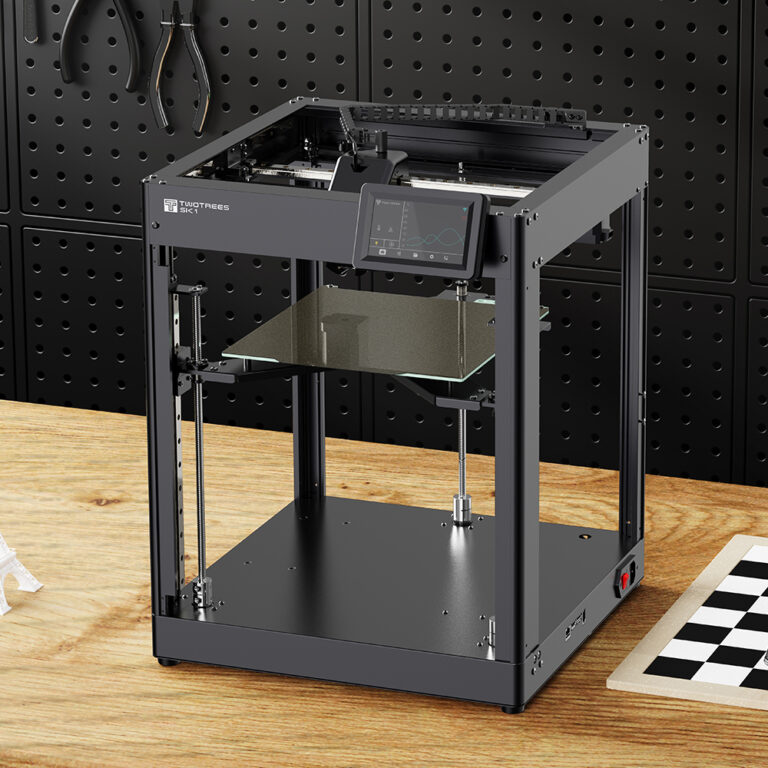
One most simple method to avoid printing warping is to use an enclosed housing to keep the printing temperature stable all the time. The closure could effectively stop 3d printing warping since filaments won’t shrink quickly in an environment with stable temperatures. There are many product options in the market with reasonable prices and if you don’t want to pay extra money for a closure you might DIY one unit if possible.
4) Improve 3D model with Raft & Brim
It’s a common practice to add raft or brim to 3D printing models. The “Raft” and “Brim” setting is also available in 3D printing slicing software. The function of the raft is to print an extra layer of “foundation” under the 3D model so that the printed product can be more firmly attached to the printing platform to avoid warping. Even if the filaments warp, it would only affect the raft part instead of the 3D model. Instead of beneath the model, the brim is only attached to the outer edges of the print and also helps improve bed adhesion and prevent warping.

5) Configure Slicing Settings
- Firstly, increase the value of the first layer height. This setting would enable more filaments to be extruded onto the printing platform, thereby increasing Adhesion. The recommended value for first layer height would be 150% which would increase its contacting surface and maintain the model firmly in a proper position
- Secondly, expand the line width of the first layer. The extra width would guarantee greater extrusion pressure between the plastic and the printing platform, which improves the bonding strength between the model and the platform and reduces the curling chance of the edge.
- What’s more, the line width setting should work together with the first layer height setting to get the ideal result. For example, if the first layer height is set to 0.1mm and the extrusion width is set to 200%, then the actual printing width is 0.2mm, which is smaller than the nozzle diameter and could easily cause the printing failure. If set the first layer to be 0.35mm and extruding width value to 200%, the printer will get a good extruded filament with a width of 0.7mm.
6) Reduce the Fill Density to 3D Models
The higher the filling density, the greater the chance of edge warping. And higher filling density means that there is more material inside the model and a greater shrinkage force generated when prints cool down. When all the shrinkage force accumulates together, the model would warp. Thus, reducing the fill density is an easy and effective way to avoid warping in 3d printing.
7) Reduce Printing Speed
A slower printing speed could improve prints in so many ways including preventing warping. Though it might take a longer time, the waiting would pay off. If you find that the edge is always curled during the printing process, you can try to slow down. It can effectively extend the cooling and consolidating time of each layer and reduce the internal stress generated in a short time.
8) Turn Off the Cooling Fan for First Layers
9) Cleaning the Printing Bed
Generally, dust and dirt on the printing bed would affect the strength of the printing model sticking to the printing bed. Thus before printing, making sure the printing bed is clean is important for successful prints.
10) Use Glues & PEI Bed
Glue offers good bonding performance and reduces the possibility of edge warping. Accessories like PVP solid glue, textured paper, anti-warping film, etc could be used on the printing hotbed platform easily and has a very good effect in anti-warping. If you use Kapton adhesive paper to enhance the adhesion, you might as well try to polish the Kapton adhesive paper to increase the contacting surface area to improve the adhesive force. A PEI bed would be another important accessory to improve adhesion and has been included in the packing lists from many suppliers. If you haven’t used one before, go get one since it has become a necessity for FDM 3D printing. (Thanks for the reminder of Christian Kern from Linkedin Group “3D Printing Today” concerning the PEI bed.)
Conclusion
The above are some of the more common and easy-to-use methods to prevent edge curling, but the situation might differ for different 3D printers under different environments. It would always be better if you could observe and make test prints to identify the right solution for your case. If you have your own tricks to fix 3D printing warping, please leave comments and let us know.
